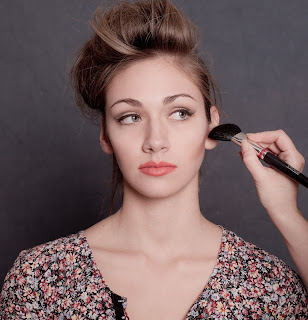
Here is how I define the cheek bone step by step:
1. Contour
Use a powder about 2 shades darker than your skin tone and an angled contour brush to apply in a triangular shape under the cheek bone. It will look like this:
2. Blush
Using a powder blush start at the apple of the cheek and follow the cheek bone to the hair line. Try using a colour that mimics your skins natural blush, or for a bolder look try a brighter blush colour (I like to use bright pink). Here is how it will look:
3. Highlight
Finish by adding your highlight to the top of the cheekbone. I like to use a lot of highlight and make it obvious. This is what the finished cheekbone will look like:
Sculpting the cheekbone can create an instant face lift. Look at the difference between Carling's cheeks with and without contour, blush and highlight:
 |
| To your left: without contour, blush and highlight. To you right: with contour, blush and highlight. You can see that she looks more awake on the right side. |


"2. Blush
ReplyDeleteUsing a powder blush start at the apple of the cheek and follow the cheek bone to the hair line. Try using a colour that mimics your skins natural blush"
Not only is it a bad idea to start brushing blush on from the apple because it's gonna be hard to blend nicely (case in point, the above pics), but this isn't the right colour for her at all.
The blush is way too heavy, not blended well and looks kinda drag on her.
Added to which, the lip colour is bleeding.